


 Your new post is loading...

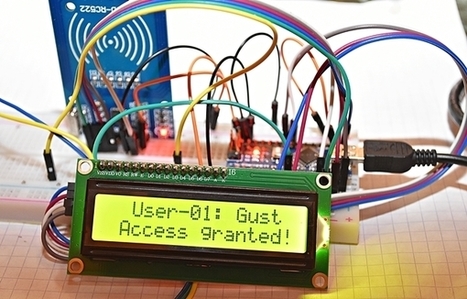

RFID RC522 Tag-Card Reader with LCD1602-I2C - We were already playing around with LCD's in our previous tutorial <===> First Steps with the Arduino-UNO R3 | Maker, MakerED, Coding | Super Starter Kit UNO R3 Project | LCD and Sensors Project <===> but there we used the SPI-Bus, meaning: connecting 12 wires (Potentiometer connections included...)!! With the I2C Bus we need ONLY to connect 4 wires!!
Learn more / En savoir plus / Mehr erfahren:
https://www.scoop.it/t/21st-century-learning-and-teaching/?&tag=ARDUINO
https://www.scoop.it/t/21st-century-learning-and-teaching/?&tag=I2C
https://www.scoop.it/t/21st-century-learning-and-teaching/?&tag=LCD
http://blog.mklec.com/how-to-use-iici2c-serial-interface-module-for-1602-lcd-display/
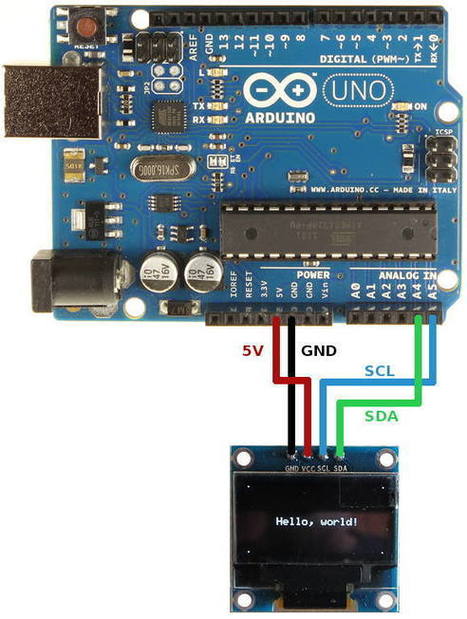